GetFeedback
Multilingual Surveys
The GetFeedback multiple language feature helps you send out one survey translated into many languages for your global audience.
Our multiple language functionality lets you create translated surveys and show them to respondents based on their browser’s default language. Once you add a language, you can export your survey text to a CSV or XLSX file, enter the translations, and import the translated text. You can also type translations directly into the survey if it’s easier for your team. However, adding languages doesn’t automatically translate your survey.
Supported Languages
Learn which languages are supported in GetFeedback
How it Works
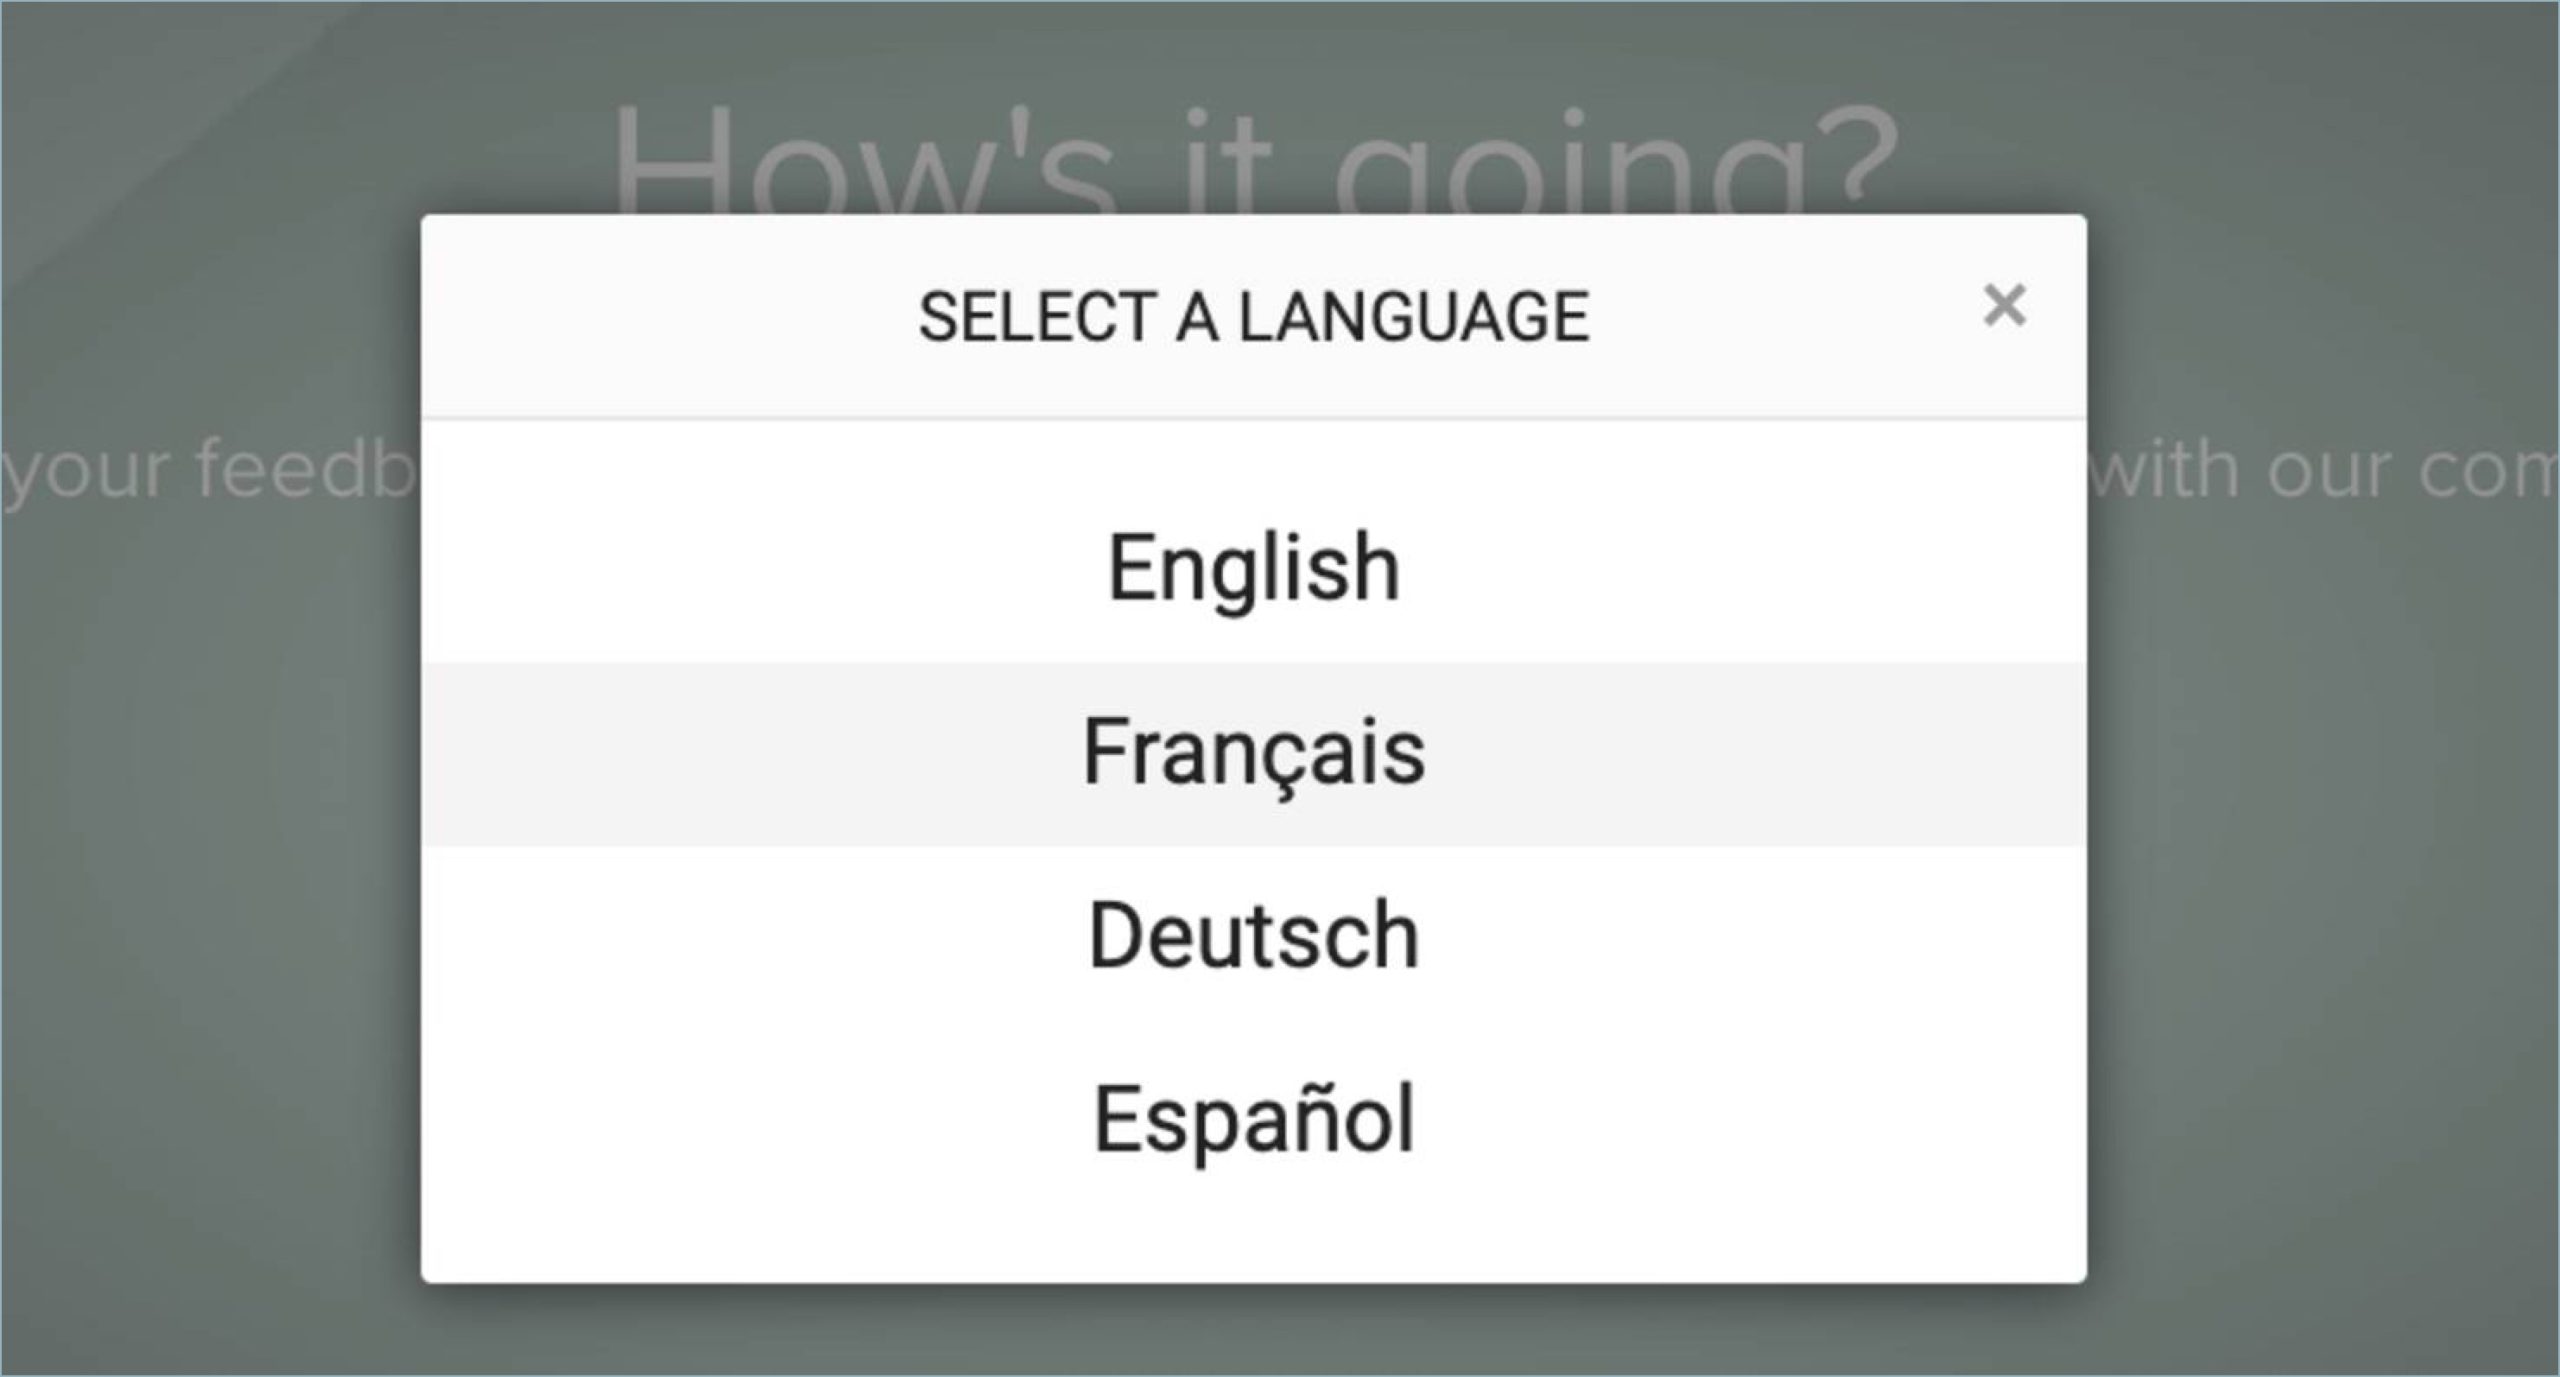
When someone opens your survey, they'll see the version that matches their browser language. They can also select their language from a dropdown on your survey.
- Create your survey.
- Set a default survey language.
- Add the languages you'll add translations for.
- Enter or import your translations.
- Enable the translations.
- Publish your survey.
Setting a Default Language
The Admin language, which is your survey’s default language, displays at the top of the survey builder. The Admin language displays for all respondents if you don’t enable other languages for your survey.
To change the default language:
- From your survey, select Settings.
- Under Localization, find Admin language.
- Choose the language to use as the survey default.
Adding a Language
Add a language to your survey so you can add translations. The language you add is disabled by default, and we won’t show translations until you enable the language.
To add a language to your survey:
- From your survey, select the Admin language to display the language list.
- Select the language you want to add.
A blank version of your survey displays so you can add translations.
Adding Translations
There are two ways to add translations:
- Enter translations directly into the survey.
- Export a CSV file to add translations to and import.
Entering Translations in the Survey Builder
Enter the translated question and answer text in the survey builder. When you select a question, the original text will display in the default language.
Add Translations Using a CSV or XSLX File
Professional translators often prefer to work with a CSV (Comma-Separated Value) file. The CSV contains one column of original text, and one column of translated text. Our survey builder can export and import both CSV and XLSX files.
To add translations using a CSV or XSLX File:
- Export the survey text:
- From your survey, select Import Translations. The Export tab is selected by default.
- Select Download. Look for a file named “translation_xx.csv.”
- Add translations to the file, or send the file to a translation team. The file has 3 columns:
- Original text in the default language.
- Empty column for the translated text. Enter translations in this column.
- Metadata for GetFeedback. We use this metadata to apply translations to the correct survey components. Don’t delete or alter the data in this column.
- When you're done editing the file, save it in a CSV or XSLX format using UTF-8 character encoding.
- Import the file in GetFeedback:
- From your survey, select Import translations.
- Select the Import tab.
- Select Choose File, then select your translated CSV or XLSX file.
- Select Upload.
- At the success message, select Continue to view the translations in your survey draft.
Enabling the Translated Language
From your survey, toggle on the language at the top of the survey builder. This enables the translation when you publish your survey.
If your language is disabled, respondents won’t be able to see the survey translations for that language. Instead, the survey will default to your admin language.
Adding Other Languages
You can add as many languages as you want. Select additional languages from the language list, then follow the steps above to add the translation.
Publishing the Survey
When you’re done adding translations, publish your survey.
The translated versions display for anyone with those languages set as their default browser language. If their browser uses a language you don’t have enabled, they’ll view the default language version of your survey. For example, if you enable a French translation and use English as the default, respondents with French as their default browser language will see the French version. Respondents with Spanish as the browser language will see your default language survey.
To override this, the respondent can select the language from the button in the top right corner of the survey. When they select a language, the survey will refresh and display in the new language.
Manually Creating Surveys in Multiple Languages
Create copies of an app.getfeedback.com survey in multiple languages to get feedback from your global audience.
Create and Copy the Default Survey
Create your base survey in your default language. You’ll use this survey as the template for each of the translated surveys.
After creating your survey, create a copy for each language you’re adding. To create a survey copy:
- From the app.getfeedback.com home page, select My surveys.
- Find the survey to copy, then select the three dots.
- Select Copy.
- Rename the survey so you can easily find it later.
- Repeat for each language you’re translating the survey to.
Translate the Survey
In your survey copies, enter translations for each of your survey questions, custom labels, and call to action buttons.
Change the Default Language and Date Format
We translate labels and answer text for NPS, CSAT, and CES questions based on the survey’s default language. We also change the alignment for languages that read right to left, such as Arabic or Hebrew.
To change the default language:
- From your survey, select Settings.
- Under Localization, find Admin language.
- Choose the language to use as the survey default.
- Repeat for each survey copy.
You may also need to change the date format based on your survey’s language. To change the date format:
- From your survey, select Settings.
- Under Localization, find Display date format as.
- Choose the date format to use as the survey default.
- Repeat for each survey copy.
Allow Respondents to Choose a Survey Language
Add a question to your default survey that lets respondents choose their default language. You’ll create a redirect for each answer option that opens the correct survey translation.
To create the preferred language question:
- Create a multiple choice question labeled Please select your preferred language.
- Label each response option with the language you’ve translated your survey into.
Example: If you made a copy of your survey for French, German, Spanish, and English, you’ll have each of these languages as an option on the question. - Make this question required.
Create Redirects for Each Survey
Create a redirect exit page for each survey copy. To create a redirect:
- Copy the link for each of your translated surveys.
- In your default survey, select +Add Exit Page, then select URL redirect.
- Paste each survey URL into a different Redirect exit page. Now, you should have a redirect exit page for each survey language option.
Add Logic to the Preferred Language Question
Once you set up your redirect pages for each survey, use survey logic to send respondents to the correct survey redirect for each language option.
To set up logic:
- Go back to the preferred language question.
- Add logic rules to direct respondents to the exit page that corresponds with the preferred language they chose.
Example: If the answer to your preferred language question