Apply
Manage Users: Overview
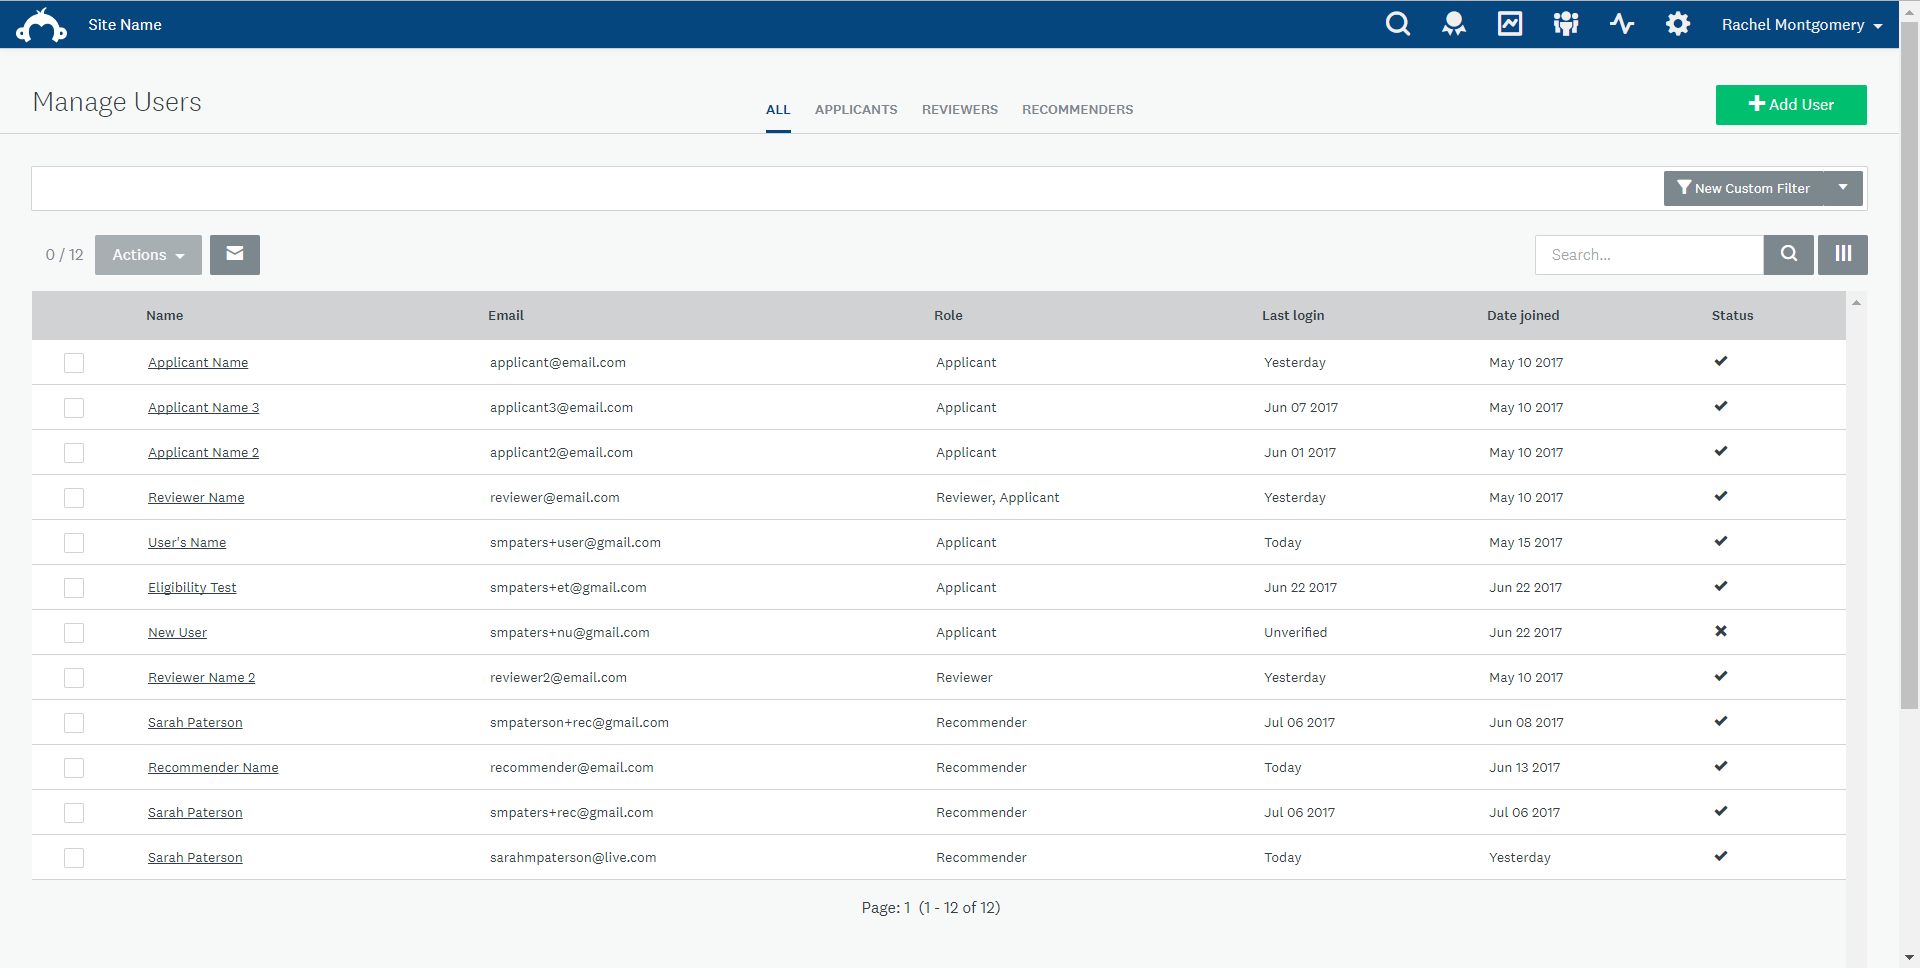
Manage Users acts as your hub for all things related to users within your site including Applicants, Reviewers, and Recommenders. This article will provide an overview of what the Manage Users section looks like, as well as different actions you can take from this section that can be useful to you as an administrator of the site.
How to Access Manage Users
The Manage Users screen is used to locate users with your site either individually or by identifying a relationship between users by applying filters. From here, administrators can view user profiles, change the role of a user, export user data, and much more. See the Actions section for more details.
To access Manage Users:
- Click on the Manage Users icon in the top right corner of your screen.
Role Tabs
Whenever you enter Manage Users you are presented with a list of users within your site. At the top of the page are four tabs representing the user roles of SM Apply. Selecting one of these tabs provides a quick breakdown of the number of users in the Role selected.
Each tab will also show different columns associated with the Role selected. For example, the Reviewer tab displays a progress bar relating to reviews completed. The tabs available in Manage Users are:
| Role | Description |
| All Users | The All Users tab will display all users that exist in your site no matter which role they belong to. By default, there is basic information that is displayed for each user. |
| Applicants | Applicants are the users in your site who will be applying to your award or program. They will have access to the applicant tasks you have created for your program. Within each program, you can also set-up application labels to further sort and distinguish your applicants |
| Reviewers | Reviewers are the users that will be assigned to rank and review the applications created by your applicants. They will have access to tasks within the Simple and Advanced Review stages, depending on the stages they are assigned to. |
| Recommenders | In some cases, you may require applicants to gain a referral or recommendation for their application. Applicants can use the “Get a Recommendation” task to invite a recommender to their application. This will automatically create an account for that user and add them to the recommender role. These users will have access to the recommender task that is associated with the "Get a Recommendation" task completed by the applicant. |
Customize Columns in the User Table
Along with the default columns details above, you have the ability to Add and remove columns from the table, which will allow you to customize the information displayed to suit your needs.
Add Columns to the User Table
- Click the Columns button located beside the search bar.
- Select the Column(s) you wish to add.
| Column | Description |
| ID | Display the Unique ID given to the user when their account is created within Apply. |
| Language | Display the Default Language that this user is using to access the site. |
| Timezone | Display the timezone that the user has selected for their account. |
| Custom Fields | Add your Role-targeted Custom Fields fields as additional columns. Depending on which Role tab you are in (All, Applicant, Reviewer, or Recommender) will alter which Role-targeted custom field will display. |
Remove Columns from the User Table
To remove columns from the table:
- Click the Columns icon.
- Remove any selection of columns that you no longer want to be included in the table.
- Select Done to refresh the table.
Adding a column to your table will only add it to the user tab you are currently viewing. For example, if you add the ID to All Users, it will not automatically be added to the other tabs
Applying Filters
You have the ability to filter your users to locate and report on users within your site. See How to Filter Users for more information.
Searching For Users
There are multiple ways to locate user profiles within your site. For more information on locating users, see How to Search for Users.
Manage Users Actions
How to Perform Actions
Within the Manage Users section there are various actions that you can take on your users. You can perform these actions either individually or in bulk:
Perform Actions on Individual Users
- Hover your cursor over the user you wish to perform an action on.
- Click on the More Options icon.
- Select the Action you wish to perform.
Perform Actions in Bulk
- Select the Users you wish to perform an action on.
- Click Actions.
- Select the Action you wish to perform.
Available Actions
Actions that can be performed in Manage Users requires the selection of the Actions icon. Available actions and their descriptions follow.
| Action | Description |
| Change Role | Update the role of a user profile. Add the user to a new role or remove the user from an existing role. |
| Activate | Activate a user's profile. This prevents this user from having to activate their profile using the confirmation link sent to their email inbox. |
| Deactivate | Deactivate a user's profile. Allows administrators to restrict access to the site from certain users. |
| Send Invite | Send an entry URL to the email address used for the username. The user will be prompted to either create a password (new account) or provide the password for their existing account. |
| Export | Export user data in the form of a report. |
| Delete | Delete a user profile from your SM Apply site. |