Apply
Get a Recommendation Task
The "Get a Recommendation" task is useful when applicants are required to provide a reference or multiple references in support of their application.
How to Create a Get a Recommendation Task
In order to create a Get a Recommendation Task in your site:
- Go to your Workflow
- Click on the Name of the stage to access the stage configurations.
- Click on the Tasks tab.
- Click on the + icon
- Select Get a Recommendation
- Complete the task settings as listed below.
Task Settings
| Settings | Description |
| Title | This is the name of the task that will be visible to your applicants within their task list. |
| Recommendation Format | Choose the accepted format for the recommendation: - Fill out a Form - Attach a File If you select Fill out a Form you will have the option to create a new form or select a form that already exists in your site. You can then edit the form within the form builder based on the information you require from the recommender. If you select Attach a File this will allow the recommender to attach a file as a recommendation. TIP! Select both formats to either give the recommender the choice of the formats type they wish to complete, or to force them to complete both formats. |
| Allow Multiple Recommendations | Select this option when multiple recommendations are required. - Set the minimum number of recommendations required - Set the maximum number of recommendations required --OR-- Select No Limit |
| Limit requests to specific email domains | Restrict email invitations to a specific email domain. For example, a use case could be if a program for research funding is being run internally in a school and students need a recommendation from a professor of the school. Setting the domain to be limited to @myschool.edu will ensure that only emails to that school are sent. |
| Allow Applicants to see Completed Recommendations | Enable this if you wish for your applicants to be able to see what their recommenders have to say about them. If this is NOT enabled they will not be able to see the completed recommendations. |
| Allow Recommenders to see Applications | Allow your recommenders to be able to view the application of the applicant they are submitting a recommendation for. |
| Description | This description is shown to applicants who complete this task. Specifying a description is optional. When checked, the Visual Editor is displayed which allows the content to be formatted accordingly. This description will be visible to your applicants within the application underneath the task. |
| Optional | Make your task Optional. By default, your task will be required to complete. If you wish to allow your applicants to proceed without completing the task you can set the task to be optional. |
| Deadline | Set a deadline on your task. Decide if you wish to prevent applicants from completing the task after a certain date. |
| Prevent Editing | Enabling this setting will mean that applicants will not be able to edit the task once they have fully completed it. |
| Prerequisites | The tasks you set as Prerequisites will need to be completed in the site before this task becomes available. A common example of this is if you wish to force your applicants to complete a Basic Information form task before this task becomes available. TIP! Select "Hide task until prerequisites are met" if you wish to make it clear to your applicants that they need to complete the prerequisite first. |
What Happens Next?
There are three major components to the Get a Recommendation task:
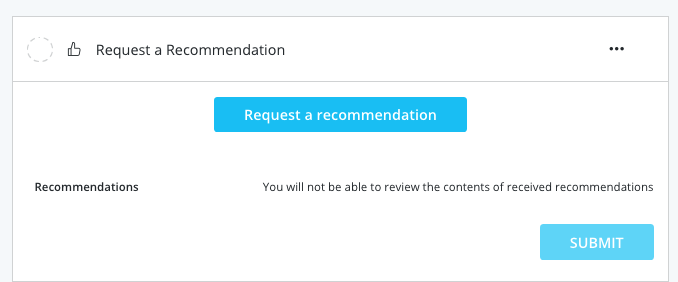
1. Applicant Completes the Request
The Applicant fills in the details of the Recommender including the First Name, Last Name, Email, and a brief message (optional) to send the recommender.
2. The Recommender Completes the Recommendation
The Recommender receives an email with an invite to complete the recommendation. This will allow the recommender to login to the site. Upon logging in they will be able to see the application in their recommender panel.

When they click Start they will be asked if they wish to Accept or Decline the recommendation request from the applicant.
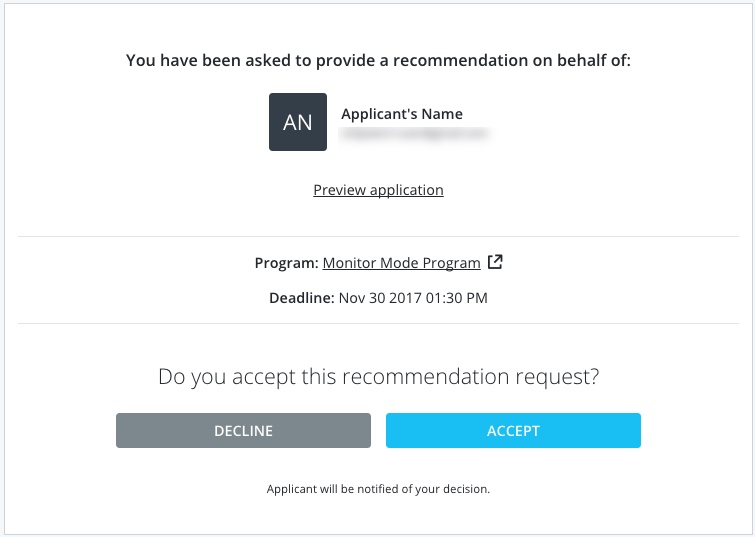
Upon Accepting, the recommender will be able to complete and submit the recommendation for the applicant within the site.
The decision to Accept or Decline will be displayed to the applicant within their application. However, based on the Notification settings the applicant can also be notified when the recommender completes their application.
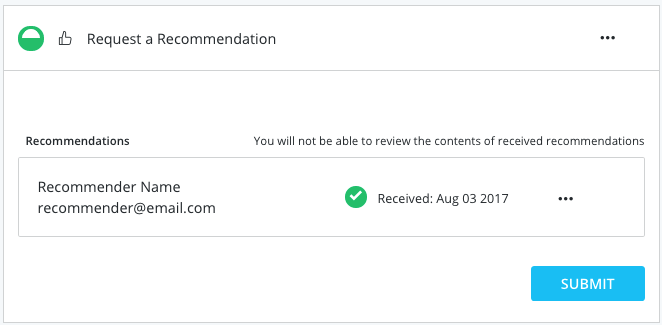
3. The Applicant must confirm that the Recommendation has been received.
Once the recommender has completed their recommendation, it will be marked as complete to the recommender. However, on the applicant's side, within their application, the task will remain In Progress, until the applicant confirms that they have received the recommendation and clicks Submit.
Quick Reference
Quick Reference allows recommenders to submit recommendations without logging into a SurveyMonkey Apply account. They will instead use a secure, one-time link sent to their email to provide their recommendation.
You can enable Quick Reference individually for each task.
How do I enable it?
To enable Quick Reference for a task:
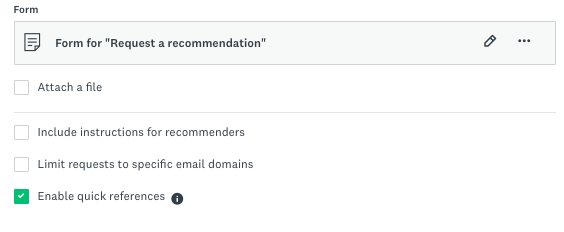
- Access the settings of your Recommendation Task.
- Check the box to Enable quick references.
Once you enable Quick Reference, your recommenders will start receiving secure, one-time-use links to provide their recommendations.