Apply
How to Add SAML Details
The instructions below focus on the steps necessary for setting up an SAML integration within SurveyMonkey Apply. Please note that an SAML integration also requires setup/configuration of the IdP on the client’s side.
To be compliant with our requirements, email is required in the payload.
To begin setup:
- Go to Settings
- Click on Registration.
- Scroll down to the bottom.
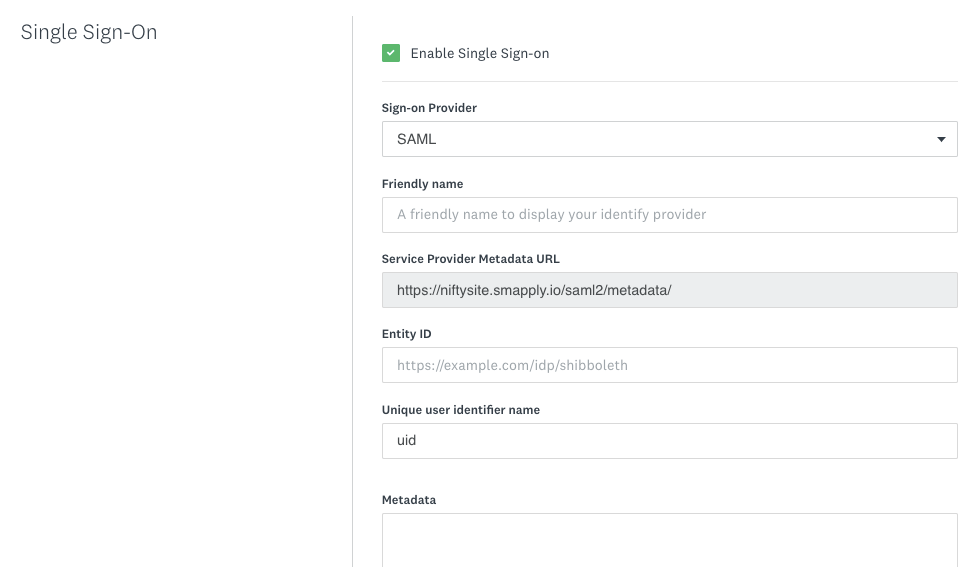
This will bring you into the SSO configuration page on the SM Apply end. There are four Sign-on provider options in the dropdown, facilitating different SSO integration options. The default option is for SAML. The first step is to obtain SM Apply’s SAML metadata found under Service Provider Metadata URL:
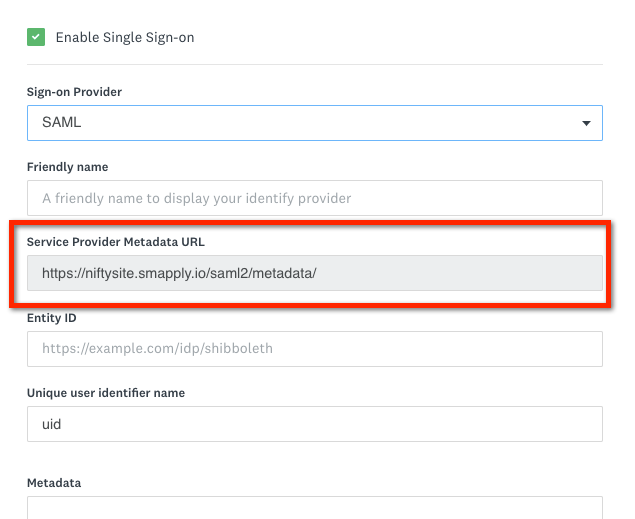
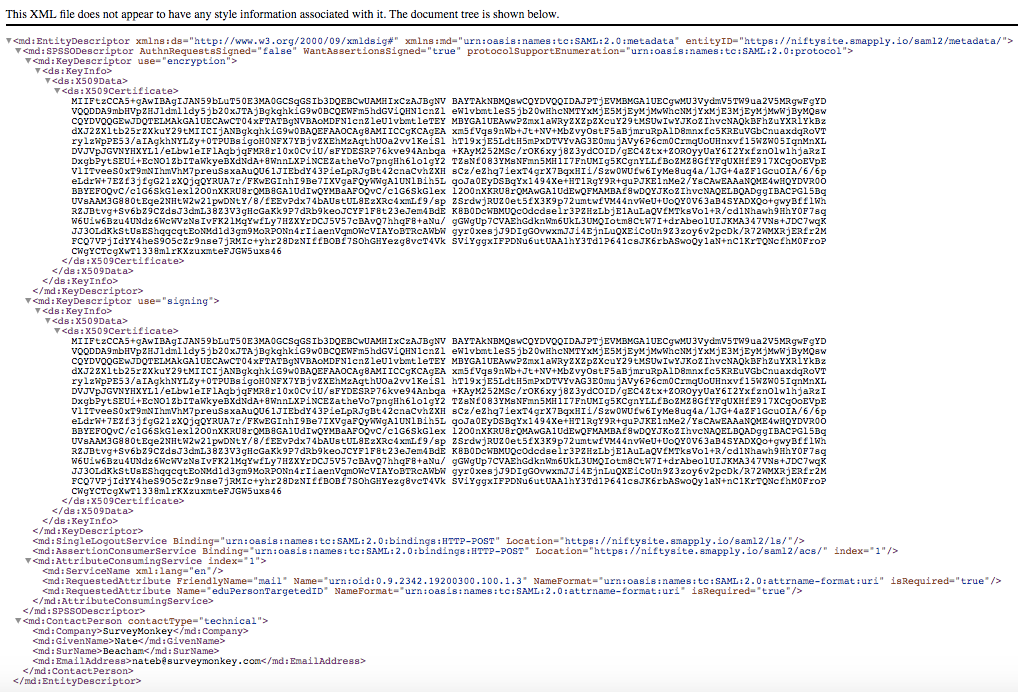
The Service Provider Metadata URL can be copied and pasted for you to view the metadata. This metadata is to be saved and copied into your IdP server.
When configuring this metadata in your IdP, please ensure you have set it up to automatically consume SM Apply metadata.
The next step is to complete the required configuration of your IdP.
Once the setup/configuration has been completed on the IdP end, the next step is to return to SM Apply to complete the integration. To do this:
- Navigate to the Settings tab
- Click on the Registration option
- Click Enable Single Sign On
- You will be able to input SAML details here
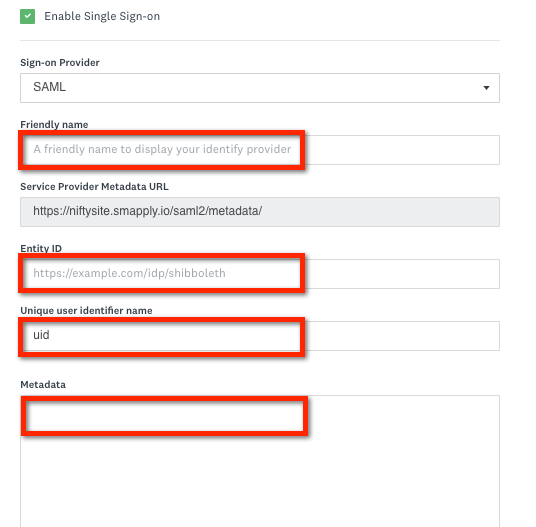
In order to complete/save the integration, the following fields are required: Friendly Name, Entity ID, and Metadata. Additional explanations for the fields are as follows:
- Friendly Name: Provide a title for this SAML integration. This name will be shown to your users.
- Service Provider Metadata URL: URL to access Apply metadata for the site (does not need to be changed)
- Entity ID: The globally unique name for your SAML entity. This can usually be found in your IdP metadata.
- Unique user identifier name: This field is optional and defaults to SAML Subject ID. If you use a custom ID to uniquely identify users, enter the field here. This should be a static value.
- Metadata: Place the entirety of your IdP metadata’s <EntityDescriptor> tag.
The final option in the integration is Attribute Mapping. This is where additional user attributes from the IdP can be mapped to fields in SM Apply upon a user successfully signing in through the SAML. By default, SM Apply will look for common names for attributes such as first name, last name, and email. If your IdP uses non-standard attribute names, those can be entered here. Common names include: givenName, cn, sn, mail, emailAddress, email.

The attribute name is where to insert the name of the attribute as it appears in your metadata. The Destination is a dropdown list of all available fields for those attributes being passed from your IdP to be mapped in SM Apply. The destination has default fields of First Name, Last Name, and Full Name. These fields map to the user’s information in the destination user accounts.
Additional attributes can be pulled into SM Apply. To set this up you will need to add Custom Fields in Apply. This can be done by:
- Click on the Settings tab
- Select Custom Fields
- To add in fields, select New Field in the top right of the page
- On the Create Custom Field page, ensure to set the target to Applicants
For more information in regards to Custom Fields please refer to How to Create a Custom Field.
Once you have created the custom field, it will appear in the Destination dropdown of the SSO SAML configuration.
To be compliant with our requirements, email is required in the payload.